Ultimaker 3D Printer Assembly Timelapse
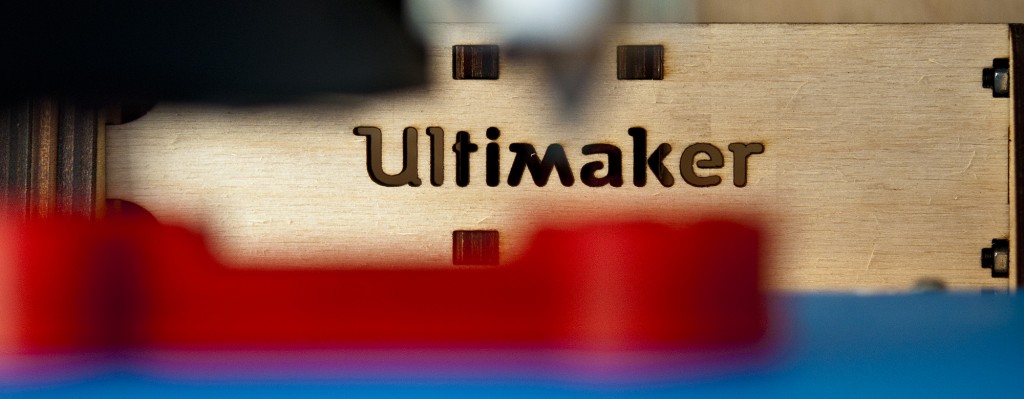
About a month ago, I received my Ultimaker 3D printer kit, and for the assembly, I decided to rig my camera to create a timelapse of the complete assembly process.
The camera was mounted above my work table along with 3 lamps for consistent light, and then tethered to a Mac, to easily control the camera.
Using a program called Sofortbild, I had the camera take an image every 10 seconds, and immediately upload the image to the computer via the USB cable.
Since the build took about 6 hours straight, I ended up with roughly 2200 images, that I have put together into a video using Time Lapse Assembler, with a framerate of 24 images per second.
If you feel confident in putting together IKEA furniture, and can read and follow instructions, this build should be no problem for you.
I had a few pieces that was a bit hard to fit, but that was mainly due to the laser cutting not going all the way through the plywood, but after trimming the parts with an Exacto knife, it went without problems.
The camera used is a Nikon D300 with a Nikon 18-200mm lens.