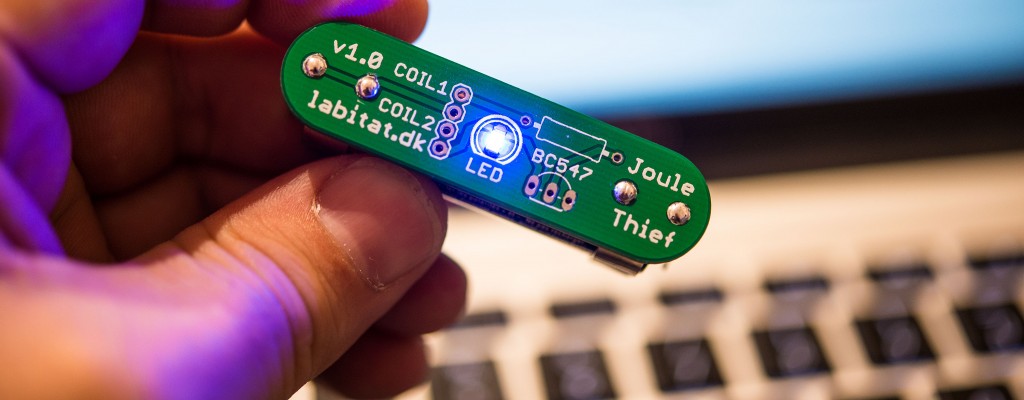
SMD version of the Labitat Joule Thief kit
Earlier this year, a friend and I designed a very simple Joule Thief kit to be used in promotion of Labitat and to teach beginners how to solder. The aim was to make it cheap, simple and easy.

But as a fun little gimmick, I decided to also add SMD footprints on the back side of the PCB, since there was plenty of space for a few small components, and there might be a few people that want a slightly bigger challenge than regular through hole components give.
I have previously made a tiny birds nest version of the SMD joule thief, but before asking others to solder up the SMD Joule Thief, I thought I’d better try it out myself.
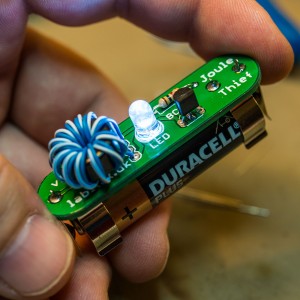
If you have done SMD work before, it’s daily simple, only the coil is a little tricky, singe there isn’t any legs, only four pads on the bottom, but heating the pad on the PCB and using a bit of flux makes the solder flow nicely in under the component. I decided to also use an SMD LED, and a 1206 seems to fit pretty well on top of the 100mil spaced holes for the regular 5mm through hole LED.
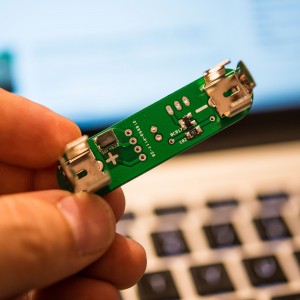
The SMD components has been placed so that they can fit in under the battery, so only the LED sits on the opposite side.
Below is a list of the SMD components used. Transistor, resistor and LED is pretty standard. The inductor is a bit more exotic, but I don’t think it needs to be this exact type, as long as it’s a 1:1 transformer designed for frequencies between 40 and 100 kHz it should work.
- 1 pcs. Small signal NPN transistor til SOT-23 house like BC817-25LT3G (BC817-25LT3G at DigiKey)
- 1 pcs. 1K resistor in 1206 house like RC1206JR-071KL (RC1206JR-071KL at DigiKey)
- 1 pcs. Common mode inductor like SRF4532-510Y (SRF4532-510Y at DigiKey)
- 1 pcs. White or Blue LED in 1206 house like LCW JNSH.EC-BQBS-5R8T-1 or APT3216QBC/D (White LED at DigiKey or Blue LED at DigiKey)
Downloads The PCB design is pretty simple. If you only want to make the through hole version, you can make the PCB single sided, but the design fits within the 50mm x 50mm limits that some of the cheap Chinese low volume manufacturing places operate with for dirt cheap PCB’s.